React Basics 101
Perfect For Beginner Students. This article will explain exactly how to get started with React by exploring how to setup your Development Environment.

React Environment Setup
Open your Command Prompt on your Laptop:
First change your directory folder to the folder you want to save your project in.
Next, type these commands:
npx create-react-app **name-your-app**
wait for everything to setup, and get the successful message.
Now you start by running your first React App, using the following command:
cd **name-your-app**
followed by:
npm start
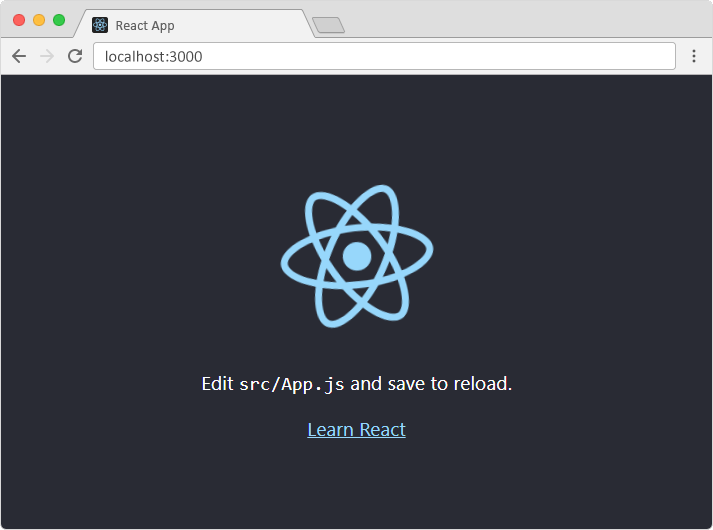
Once this has run, a new browser window should pop on your screen. If nothing occurs, open your chosen browser and type localhost:3000 in the address bar.
You should see the following page in your tab..
Now that your environment is setup, lets edit this locahost page to your own webapp or website design and function. We do this by opening the folder you saved your project to in VS Code or an editor of your choice. Followed by opening the name-your-app folder, and navigating to the src folder, where you will find a file named App.js.
/name-your-app/src/App.js:
import logo from './logo.svg';
import './App.css';

function App() {
  return (
    <div className="App">
      <header className="App-header">
        <img src={logo} className="App-logo" alt="logo" />
        <p>
          Edit <code>src/App.js</code> and save to reload.
        </p>
        <a
          className="App-link"
          href="https://reactjs.org"
          target="_blank"
          rel="noopener noreferrer"
        >
          Learn React
        </a>
      </header>
    </div>
  );
}

export default App;
To edit this page, go to the div with a classname of App , and replace all of the content inside with:
function App() {
  return (
    <div className="App">
      <h1>Hello World!</h1>
    </div>
  );
}

export default App;
additionally, we can remove the imports for the logo.svg & app.css files, as we do not need them.
What should display on the webpage after you have saved the code is this:
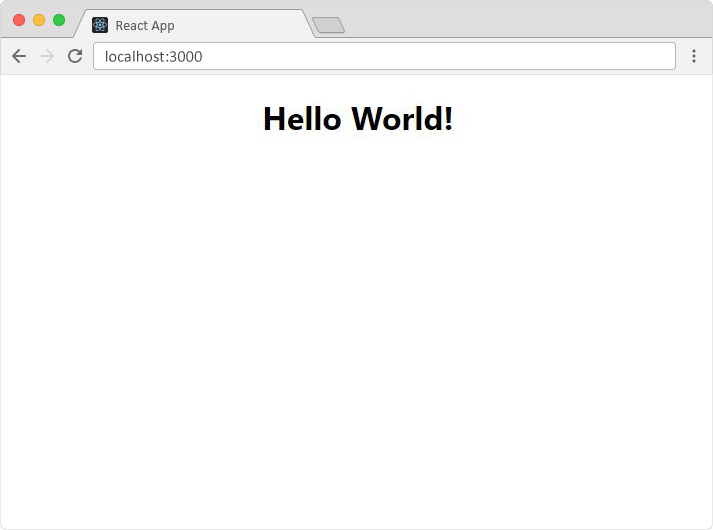
There you have it, a React app that you can now customize with your own functionality and your own styling for whatever purpose you require.
Thanks for Reading to the end.
In the next article in this React series, we will discuss how to build and deploy a functional app to the web using Firebase!
Till then...


